How to Achieve a Perfect Finish with Strong Top Coat: Tips and Techniques
Achieving a flawless finish in your nail art or painting projects often hinges on the quality and application of a strong top coat. A strong top coat not only elevates the overall appearance but also enhances durability, providing a protective layer that resists chips and scratches. In this guide, we will explore essential tips and techniques for applying a strong top coat to ensure a perfect finish every time. From preparing your base layer correctly to mastering the application process, each step plays a critical role in achieving that professional look. Whether you're a DIY enthusiast or a seasoned professional, understanding how to utilize a strong top coat can make all the difference in your finished piece. Let’s dive into the key strategies that will help you unlock the secrets of an impeccable finish with a strong top coat!
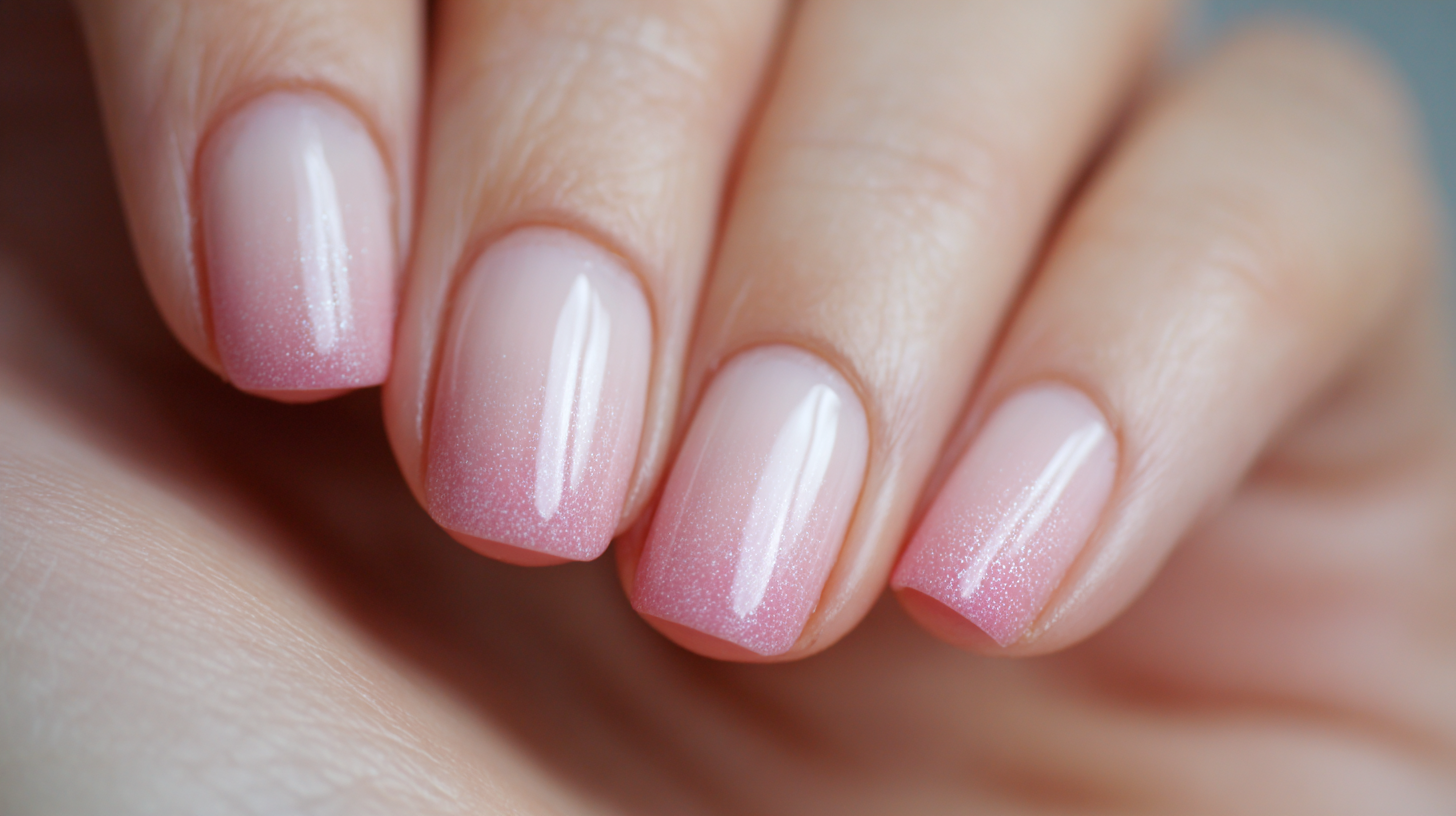
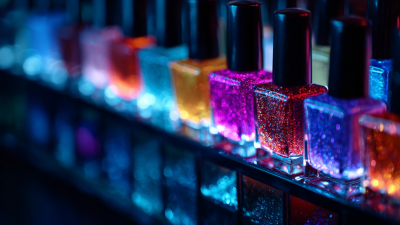
Choosing the Right Top Coat for a Flawless Finish
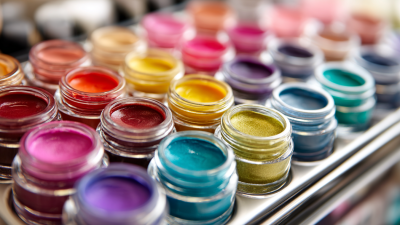
Choosing the right top coat is essential for achieving a flawless finish on your nails. With a plethora of options available, it can be overwhelming to decide which product suits your needs best. According to recent expert testing, some top coats offer long-lasting wear, while others focus on shine or shimmer. For those who frequently manicure at home, investing in a high-quality top coat can elevate your at-home experience, as many users have discovered significant benefits from formulas designed to prevent chipping and enhance durability.
Tips for Selecting the Right Top Coat:
- Finish Type: Determine whether you prefer a glossy, matte, or shimmering finish. Glossy top coats tend to enhance the vibrancy of the underlying polish, while matte finishes can give a trendy, understated look.
- Drying Time: Consider quick-dry options if you’re often on the go. These formulae can significantly reduce the time required for your nails to set, allowing for a more efficient manicure process.
- Durability: Look for top coats that claim to provide chip resistance for up to a week or more. Research shows that top coats that adhere strongly to the nail polish base create a barrier that prevents chipping and extends the life of your manicure.
With the right top coat, you can confidently achieve a professional-level finish at home.
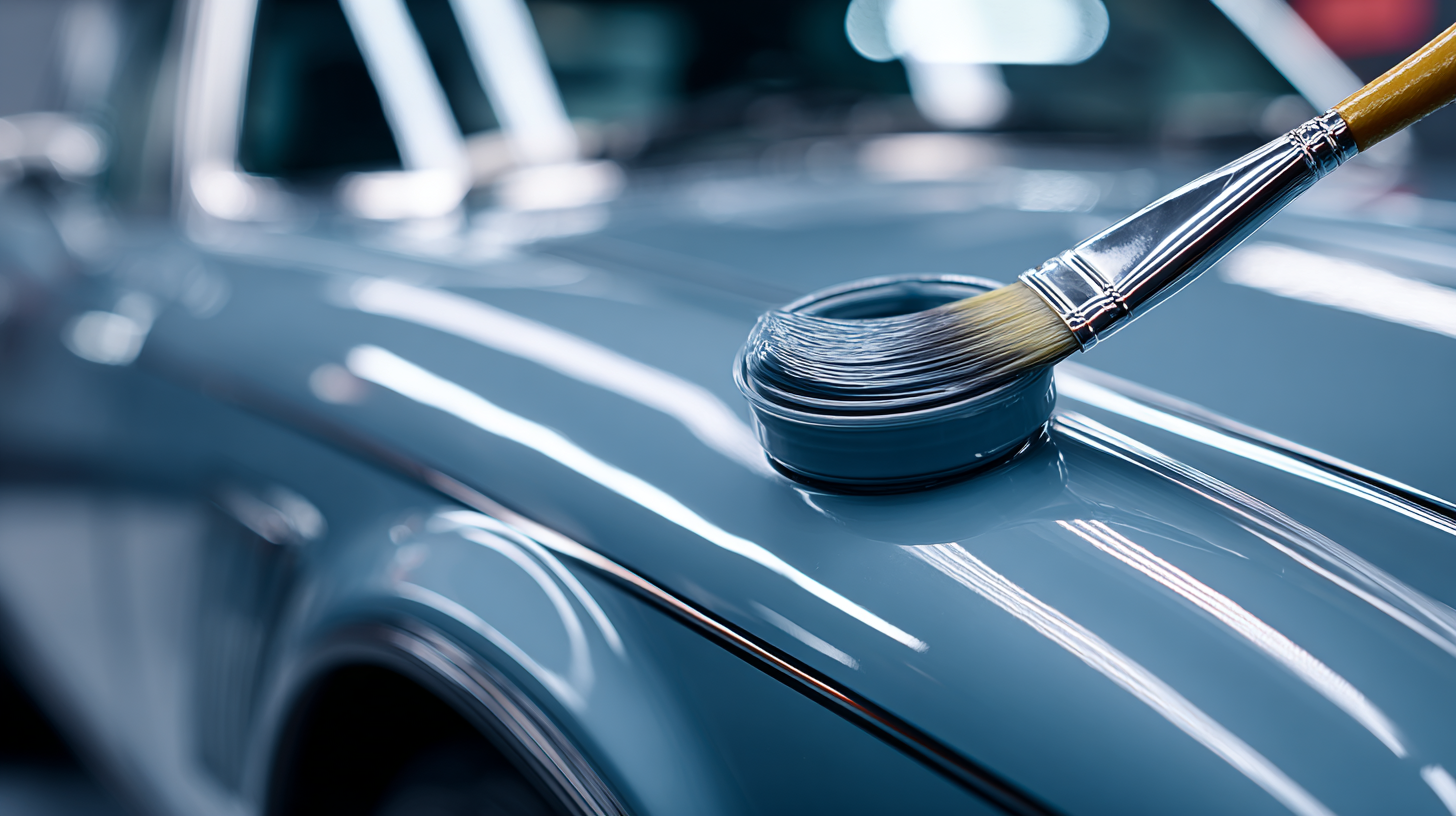
Preparing Your Surface for Optimal Top Coat Application
 Preparing your surface properly is crucial for achieving a flawless finish with a strong top coat. Start by cleaning the surface thoroughly to remove any dirt, grease, or debris that might interfere with adhesion. Use a suitable cleaner depending on your material—solvents for metals and soapy water for plastics. Once cleaned, dry the surface completely to ensure there’s no moisture, which can cause bubbling and uneven application of the top coat.
Next, sanding the surface is an essential step that enhances the top coat's bond. Use fine-grit sandpaper to create a smooth texture, which not only helps the top coat adhere better but also allows it to level out beautifully. After sanding, wipe the area again to remove any sanding dust. If you're working with a surface that has previously been painted, remove any loose paint or flaking to create an ideal base for the new layer. This meticulous preparation sets the stage for a professional-looking finish that lasts longer and withstands the elements.
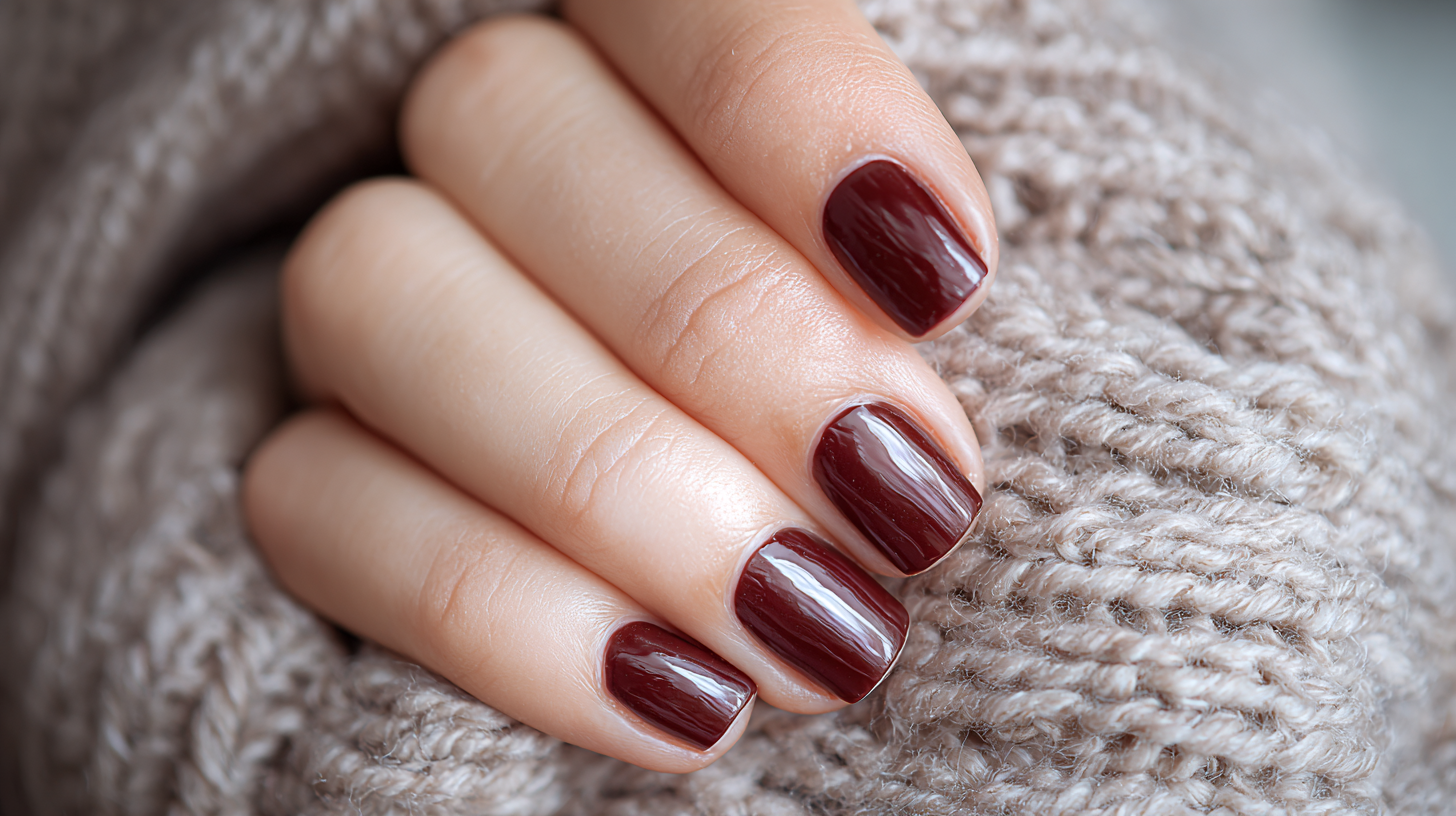
Techniques for Evenly Applying Top Coat for a Smooth Finish
Achieving a flawless finish with a top coat requires precision and technique. The first critical step is to ensure your base layer is completely dry and smooth. According to a study by the Nail Manufacturers Council, a fully cured base layer can improve the adherence of the top coat by up to 50%, significantly reducing the risk of bubbling or peeling. This preparation phase lays the groundwork for an even and brilliant top coat application.
When it comes to application, using the right tools can make all the difference. Professionals recommend using a high-quality brush specifically designed for top coat application, which allows for better control and coverage. Research from the Journal of Cosmetic Science highlights that a well-mixed top coat can impact durability and shine, so it's advisable to shake the bottle gently to blend the contents before application. Apply the top coat in thin layers, allowing adequate drying time between applications. This technique not only enhances the longevity of the finish but also contributes to a glass-like appearance that is sought after in the nail care industry.
Common Mistakes to Avoid When Using Top Coats
When utilizing strong top coats, avoiding common mistakes can significantly enhance the quality of your finish. One prevalent error is applying the top coat too thickly, which can lead to bubbling and an uneven surface. According to a recent report from the Nail Tech Network, nearly 40% of professionals cite improper application techniques as a leading cause of poor top coat performance. To achieve a seamless finish, always remember to use a thin layer and let it self-level before curing.
Another frequent mistake is neglecting the preparation phase. Proper nail preparation, including cleaning and buffing, is crucial for adhesion. A study conducted by the International Journal of Cosmetology indicates that well-prepped nails can improve top coat durability by up to 30%. Ensuring the surface is clean and free of oils can prevent peeling and chipping, extending the life of your manicure.
Tip: Always use a high-quality base coat before applying your top coat. This not only aids adhesion but also offers an additional layer of protection against stains and damage. Additionally, remember to cap the edges of the nails with your top coat to help seal the manicure and prevent wear and tear. Taking these steps can lead to a flawless finish and a longer-lasting result.
How to Achieve a Perfect Finish with Strong Top Coat: Tips and Techniques
Curing and Drying: Best Practices for Long-Lasting Results
Achieving a perfect finish with a strong top coat hinges significantly on curing and drying techniques. Proper curing ensures the durability and shine of the top coat, preventing chipping and wear over time. To begin, make sure that the base layer of your manicure is completely dry before applying the top coat. This foundational step is crucial, as any moisture underneath can lead to bubbling and uneven surfaces.
Once the top coat is applied, consider the drying process. Using a UV or LED lamp can accelerate the curing time, allowing the top coat to harden under controlled conditions. However, if you opt for air-drying, ensure you maintain a dust-free environment to avoid particles settling into the wet finish. It’s advisable to allow sufficient time for curing; generally, a minimum of 30 minutes is recommended for optimal results. Lastly, avoid any exposure to water or harsh chemicals for at least 24 hours after application to ensure that the finish remains flawless and intact.