Best Gel Nail Polish Set Tips for Perfect Home Manicures?
Creating the perfect manicure at home can sometimes feel daunting. However, with the right Gel Nail Polish Set, achieving a salon-quality finish becomes accessible. These sets often include a variety of colors, base and top coats, and essential tools. Choosing the right combination can greatly enhance the experience.
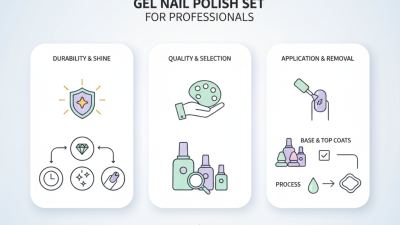
It's essential to understand that not all gel nail polish sets are created equal. Quality matters significantly in durability and shine. Reflections on your past experiences can guide your choices. Have you been frustrated by chips or fading colors? A reliable Gel Nail Polish Set should address these concerns effectively.
Preparation and application techniques also play a crucial role in your results. Nail care routines often need improvement. Reading instructions carefully and watching tutorials can enlighten you. Remember, practice makes perfect. With patience and the right Gel Nail Polish Set, you'll elevate your home manicure game.
Choosing the Right Gel Nail Polish Set for Home Use
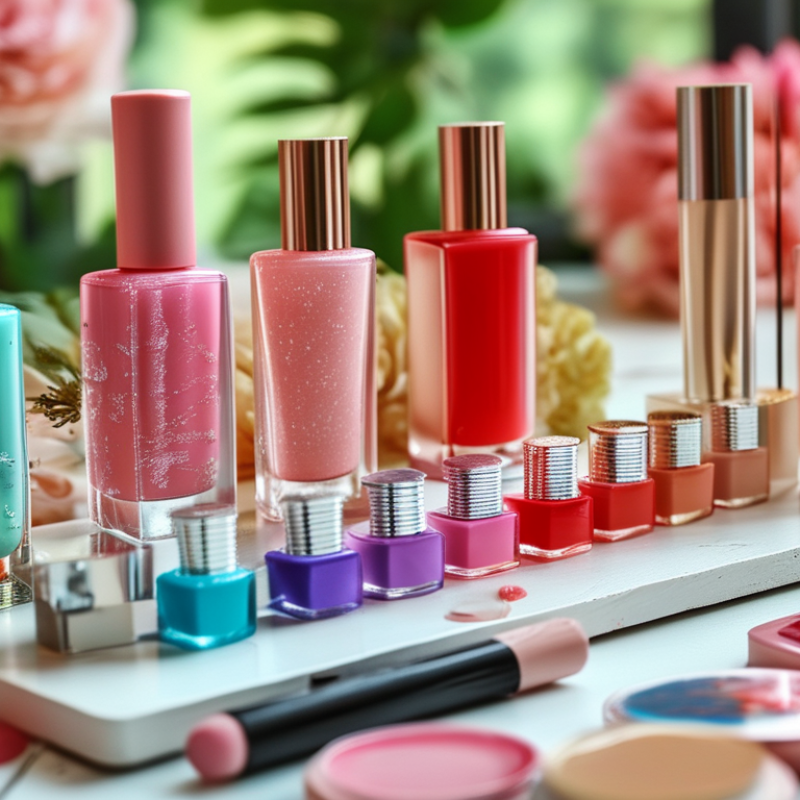
Choosing the right gel nail polish set for home use can feel overwhelming. The market has grown significantly, with a projected compound annual growth rate (CAGR) of 7.2% from 2021 to 2028, according to a recent industry report. Having a clear understanding of your needs is essential. Look for a set that includes a base coat, top coat, and a variety of colors. This provides versatility for different occasions.
When browsing options, consider the ingredients in the gel polish. Many brands now offer toxin-free formulas. However, some inexpensive sets may still contain harmful chemicals. You want items that are safe for your nails and the environment. Additionally, understand that gel application requires UV or LED lamps. Not all sets include these tools, which might lead to unexpected costs.
Practicing at home can lead to some mistakes. Uneven application or curing errors are common for beginners. Accepting that you may need a few tries to perfect your technique is important. It’s a part of the learning curve. Monitoring your nails' health after prolonged use is also crucial. Pay attention to any signs of damage or brittleness. Being informed can enhance your home manicure experience, ensuring it is both enjoyable and safe.
Essential Tools and Equipment for a Successful Gel Manicure
When it comes to achieving a perfect gel manicure at home, having the right tools and equipment is essential. Begin with a quality UV or LED lamp. This will cure the gel polish properly, ensuring durability. The lamp should be powerful enough to shorten drying time. Your choice of nail files is also crucial. Use both coarse and fine grits to shape your nails seamlessly. A good buffer will smooth the surface, providing an ideal base for application.
Don't overlook the importance of cuticle care. Invest in a cuticle pusher and nipper. These tools help maintain a clean nail bed. A base coat is vital to prevent staining and improve adhesion. High-quality gel top coats add shine and protection. Remember, practice makes perfect. Your application technique may need improvement. It's normal to encounter issues, like bubbles or uneven coating. Learning from these mistakes is part of the journey. Pay attention to how each layer cures. Find a routine that works best for you. Each experience helps refine your skills.
Step-by-Step Guide to Applying Gel Nail Polish at Home
Achieving a flawless gel manicure at home is rewarding but can be challenging. Preparing your nails is essential. Start by removing any old polish and gently pushing back your cuticles. File your nails to your desired shape and ensure they are clean and dry. Any leftover moisture can lead to peeling.
When applying the gel polish, use thin layers. Thick coats may not cure properly under the UV or LED lamp. It’s vital to cap the edges of your nails. This creates a seal and prevents chipping. Even professionals sometimes forget this step, leading to less-than-perfect results. If your polish bubbles or wrinkles, consider adjusting your application technique.
Curing time is critical. Each layer needs adequate exposure to the lamp. Rushing this process can result in a manicure that chips quickly. After curing, apply a no-wipe top coat. This final step enhances shine and durability. Pay attention to your technique. Inconsistencies can lead to uneven surfaces, which may make your manicure look unprofessional. Tuning your method takes practice. Embrace mistakes – they are part of the learning journey.
Best Gel Nail Polish Set Tips for Perfect Home Manicures
| Step |
Description |
Tips |
| 1 |
Start with clean nails, removing any old polish. |
Use a nail polish remover and wash hands thoroughly. |
| 2 |
Apply a base coat to protect your nails. |
Make sure to cover the entire nail surface. |
| 3 |
Cure the base coat under a UV/LED lamp for the recommended time. |
Follow the manufacturer's curing time for best results. |
| 4 |
Apply the gel polish in thin layers. |
Less is more to avoid the polish from pooling. |
| 5 |
Cure each layer under the UV/LED lamp. |
Ensure proper curing for durability. |
| 6 |
Finish with a top coat for shine and protection. |
Seal the edges to prevent chipping. |
| 7 |
Cure the top coat and wipe off the sticky residue. |
Use a lint-free wipe and rubbing alcohol. |
| 8 |
Moisturize your cuticles after the process. |
Use cuticle oil for added nourishment. |
Tips for Proper Gel Nail Removal to Protect Your Nails
Proper gel nail removal is crucial for maintaining your nails' health. The process requires patience and care. Begin by gently buffing the top coat of your gel nails. This helps the acetone penetrate quicker. However, don’t over-buff; you might damage the natural nail underneath. Afterward, soak cotton pads in acetone and place them on each nail. Use foil to secure the pads in place. This can be tedious, but it’s necessary for effective removal.
Keep in mind that properly removing gel polish takes time, around 10 to 15 minutes. Avoid the temptation to peel or force the gel off. Doing so can result in significant nail damage. Once the gel starts to lift, use a wooden stick to gently push it off. Be subtle; you don’t want to harm the nail bed. After removal, wash your hands and apply cuticle oil. This step is often overlooked but very important for nail and skin restoration. Reflect on this process, as each step impacts the overall health and appearance of your nails.
Common Mistakes to Avoid When Doing Gel Manicures at Home
When doing gel manicures at home, many people overlook crucial steps, leading to subpar results. According to a survey by the Nail Polish Manufacturer Association, 45% of individuals reported dissatisfaction with their DIY gel applications. One common mistake is not preparing the nails properly. Nails should be clean, dry, and filed before applying any polish. Skipping this step can lead to poor adhesion and chipping.
Another frequent oversight is inadequate curing time. UV and LED lamps require specific times for proper curing, usually between 30 seconds to 2 minutes, depending on the gel product. Under-curing can result in sticky surfaces and premature peeling. A study published in the Journal of Cosmetic Dermatology highlighted that 65% of users experienced issues due to incorrect curing methods. It's essential to follow the instructions that come with your gel polish set.
Finally, people often rush through the application process. Applying too thick layers can cause bubbling and uneven surfaces. Aim for thin, even coats. The best results come from patience and attention to detail. Taking time to fix small imperfections can elevate the quality of your manicure significantly. Being aware of these pitfalls is the first step toward achieving a flawless at-home gel manicure experience.