What is a Poly Gel Nail Kit and How to Use It for Perfect Nails
The beauty industry has seen exponential growth over the past few years, particularly in the nail care segment. According to a report by Grand View Research, the global nail care market was valued at approximately $11.38 billion in 2021, and it is anticipated to expand at a compound annual growth rate (CAGR) of 9.5% from 2022 to 2030. Among the many innovations in this sector, the Poly Gel Nail Kit has emerged as a favorite among both professionals and at-home users, combining the best qualities of acrylic and gel nails for a superior application experience.
The Poly Gel Nail Kit offers a versatile solution for achieving flawless nails without the hassle often associated with traditional methods. By using a revolutionary hybrid formula, this kit provides durability, flexibility, and a lightweight feel, making it a game-changer in the nail care industry. Moreover, with the increasing trend towards DIY beauty treatments heightened by the COVID-19 pandemic, this kit has become essential for many individuals looking to maintain their nail health and appearance at home. As more consumers gravitate towards more convenient nail care solutions, understanding how to effectively use a Poly Gel Nail Kit can lead to not only stunning results but also enhanced self-expression through nail art.
Understanding the Poly Gel Nail Kit: Composition and Benefits for Nail Art
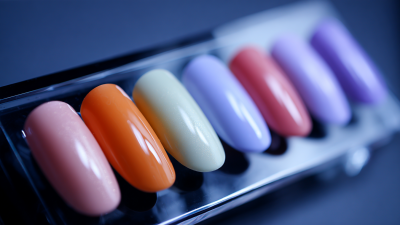
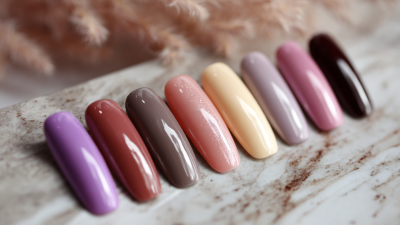
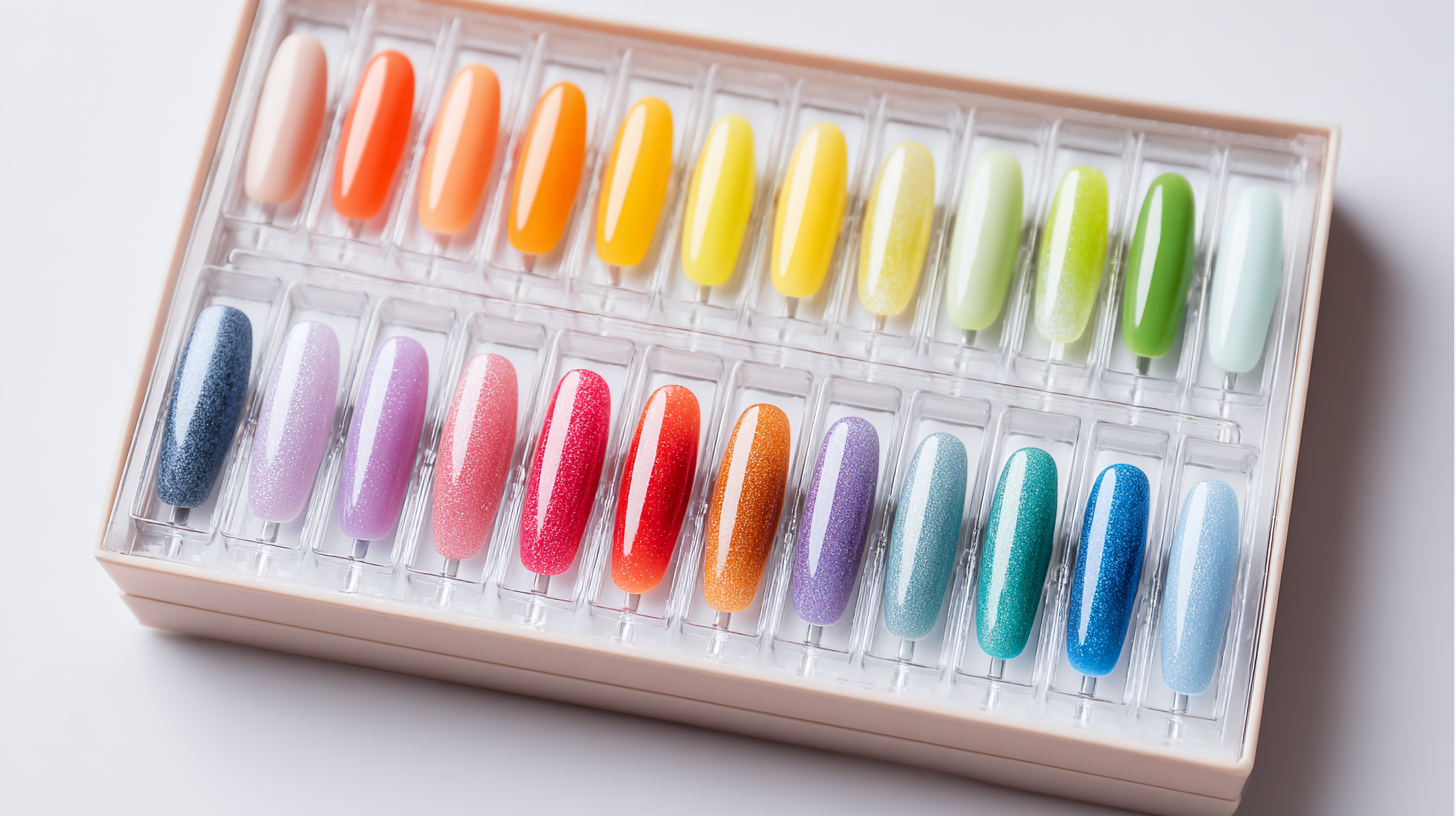
Polygel nails are revolutionizing the nail art scene with their unique composition that merges the best qualities of both acrylics and gels. This hybrid formula provides the strength typically associated with acrylics while maintaining the flexibility and lightweight feel of gel. For those looking to enhance their nails, a Polygel Nail Kit is an all-in-one solution featuring essential tools and materials to achieve a stunning manicure at home. With kits readily available, anyone can enjoy a salon-quality finish without the hefty price tag.
Tips: When using a Polygel Nail Kit, start by preparing your natural nails properly; clean them and push back the cuticles for the best adhesion. Make sure to apply a base coat before the Polygel application for enhanced durability. Additionally, using a UV or LED lamp to cure the gel can significantly extend the life of your manicure, keeping it chip-free for weeks. For color enthusiasts, many kits offer a variety of shades, allowing you to mix and match for endless creative possibilities.
This innovative approach to nail enhancement not only saves time but protects the natural nails, making them an ideal choice for busy individuals. With the right tools and techniques, achieving a flawless look is easier and more accessible than ever.
Key Components of a Poly Gel Nail Kit: Tools and Materials Explained
A Poly Gel Nail Kit is an essential collection for anyone looking to achieve salon-quality nails at home. The core components of a DIY Poly Gel Nail Kit include Poly Gel, a unique hybrid formula that combines the best features of acrylics and hard gels. This formula allows for greater flexibility, making it easier to mold and shape. Additionally, most kits come with a dual-end applicator brush and spatula, which are crucial tools for applying the Poly Gel smoothly onto the natural nail.
In addition to the Poly Gel and applicator tools, a proper kit typically contains a UV or LED lamp, necessary for curing the gel to achieve a long-lasting finish. Nail forms or tips are also included to help create different nail shapes and lengths. Other items such as a nail file, slip solution, and prep products ensure that both the application and maintenance processes are seamless. With these essential components, anyone can master the art of Poly Gel nails and enjoy a personalized nail design that lasts.
What is a Poly Gel Nail Kit and How to Use It for Perfect Nails
| Component |
Description |
Usage |
| Poly Gel |
A hybrid formula that combines the best qualities of acrylic and gel nails. |
Apply with a spatula and shape using a brush and slip solution. |
| Dual Forms |
Mold used to shape Poly Gel during the curing process. |
Fill with Poly Gel, press, and cure under UV/LED lamp. |
| Slip Solution |
A liquid used to reduce stickiness during application. |
Dampen the brush for easier shaping and smoothing. |
| UV/LED Lamp |
Device used to cure Poly Gel quickly and effectively. |
Place nails under the lamp as per the recommended time for curing. |
| Nail File |
Tool for shaping and smoothing the finished nails. |
Use after curing to achieve desired shape and texture. |
| Top Coat |
Final layer applied for shine and protection. |
Apply after nail design and cure for a high-gloss finish. |
Step-by-Step Guide to Using Poly Gel for Salon-Quality Nails at Home
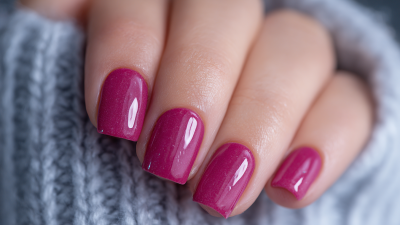
Using a Poly Gel Nail Kit at home can yield salon-quality results with relative ease. Poly Gel, which combines the durability of acrylics and the flexibility of gels, has become increasingly popular among DIY nail enthusiasts. According to recent reports, these kits offer a long-lasting manicure option that can save users time and money, with some kits starting as low as $36. With appropriate UV nail lamps, users can achieve a professional finish from the comfort of their homes.
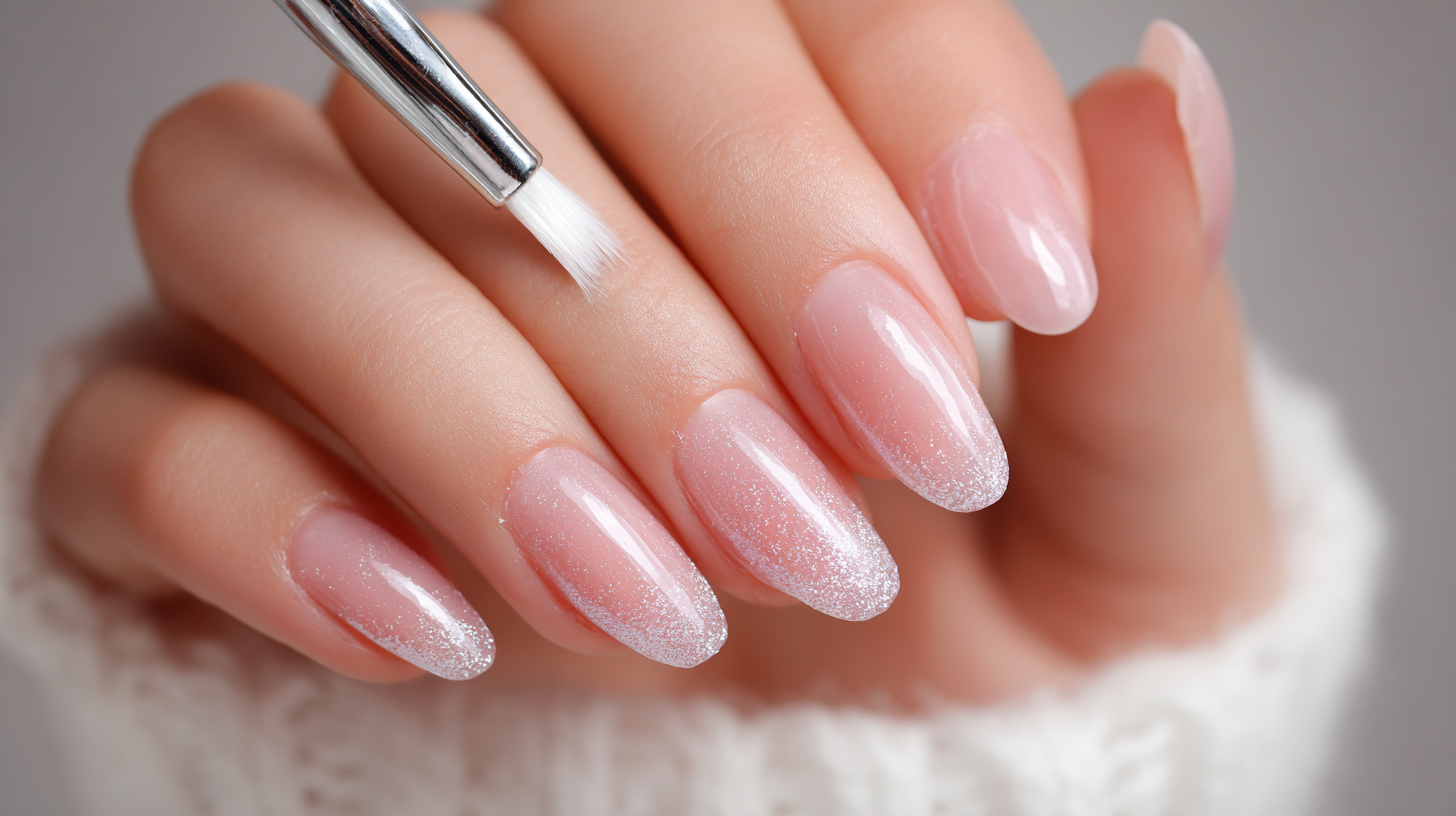
To use a Poly Gel Nail Kit effectively, begin by preparing your nails: clean, file, and buff them to create a smooth surface. Then, apply a base coat and cure it under the UV lamp as instructed. Next, use the Poly Gel formula—typically in a tube—applying it to your nails and shaping it with a brush or spatula dipped in slip solution. Once you're satisfied with the shape, cure the Poly Gel under the UV lamp again. Finish with a top coat for added shine and longevity. Following these steps ensures that your at-home manicure not only looks great but also lasts longer compared to traditional polish methods.

Safety Protocols and Best Practices When Using Poly Gel Nail Kits
When using a Poly Gel nail kit, adhering to safety protocols is essential to ensure both the health of your nails and your overall well-being. First, always work in a well-ventilated area to avoid inhaling fumes from the gel and other chemicals. It’s crucial to perform a patch test before applying the product, especially if you have sensitive skin. Wearing gloves can protect your skin from potential irritation, while goggles help shield your eyes from splashes, ensuring a thorough and safe application process.
In addition to personal safety, maintaining a clean workspace is vital. Disinfect all tools and surfaces before starting your manicure to minimize the risk of contamination. Use a UV or LED lamp according to the manufacturer's instructions to properly cure the gel, as overexposure can damage both your nails and skin. Finally, make sure to follow the removal protocol carefully—soaking the nails in acetone for the appropriate time before gently filing off the remaining product will prevent unnecessary damage to the natural nail. By following these best practices, you can enjoy beautiful, healthy nails with your Poly Gel nail kit.
Market Trends: The Growing Popularity of Poly Gel Nails in the Beauty Industry
The beauty industry is witnessing a significant trend towards poly gel nails, which combine the best features of acrylics and hard gels. This innovative nail enhancement offers flexibility, durability, and a lightweight feel, making it a preferred choice for many nail enthusiasts. The ease of application, coupled with the ability to create stunning designs, has led to a growing demand for poly gel nail kits, particularly among DIY beauty aficionados.
To achieve perfect poly gel nails, consider these tips: First, ensure that your nails are prepped properly by filing and buffing them to create a smooth surface. This step is crucial for the adhesion of the poly gel. Second, use a dual form for the application; it allows you to sculpt the nail while simultaneously saving time. Lastly, make sure to cure each layer correctly under a UV/LED lamp to enhance the longevity of your nails.
With the increasing popularity of poly gel nails, brands are releasing more affordable and user-friendly kits, catering to both beginners and professionals. As more beauty lovers experiment with this innovative method, it is expected that the market for poly gel products will continue to expand, offering exciting new colors and finishes that keep up with current beauty trends.